Trek to Triund actually should be the first thing to do when you are in Mcleodganj, even if you are not into trekking. It was my first solo trek and it could not have been better.
Life is really about the choices that you make every day. The night before I planned to go to this trek, it started raining heavily in Mcleodganj. I had planned to leave the following morning at 7 am, but it rained continuously from 9pm to 3am. Disheartened, I had cancelled the plan before going to sleep, keeping in mind the weather. But the next morning when my eyes opened at 9 am, and at that very moment, I don't what happened but I knew I had to go to this trek. I suddenly jumped out of the bed, got ready and packed my bag in the next 20 mins, and left my hotel after grabbing a toast from the hotel breakfast table.
I knew the first thing I had to do was to buy a raincoat as the weather was not clear yet and it could rain at any moment. The market usually opens by 8-9 am, so it was not difficult to find a general purpose store. However, the shopkeeper charged me 100 rs for a raincoat. That small piece of polythene cost me around one-third of my day's budget ! (Yes, I had planned to survive on a daily budget of 300 and of course, exceeded at the end). The shopkeepers in these type of tourist places try their best to convince you that they have specially reduced the price just for you and they are hardly making any profit on it. At that moment, I didn't want to spend much time searching for a cheaper raincoat, so bought it. But, this is what I have learned: Never go with the first option. Explore more. Search more. You'd definitely find a better one.
At 10 am, I was standing at Mcleodganj main square, ready to leave. Already running behind my schedule by 3 hours, I decided to take an auto to Dharamkot ( 2 kms from there). The road is two-way and I had expected some traffic, owing to my experience in Mcleodganj. But surprisingly, the situation was much better. When I told the driver that I was going to the trek solo, he didn't stop guiding me till the point he dropped me in front of the Himalaya Tea Shop at Dharamkot. When I was about to leave, he was still providing me some instructions on camping there. That's one major point about travelling solo. Had I been with a group at that time, I wouldn't have talked so much with that person.
I started the trek at 10.30 from there.

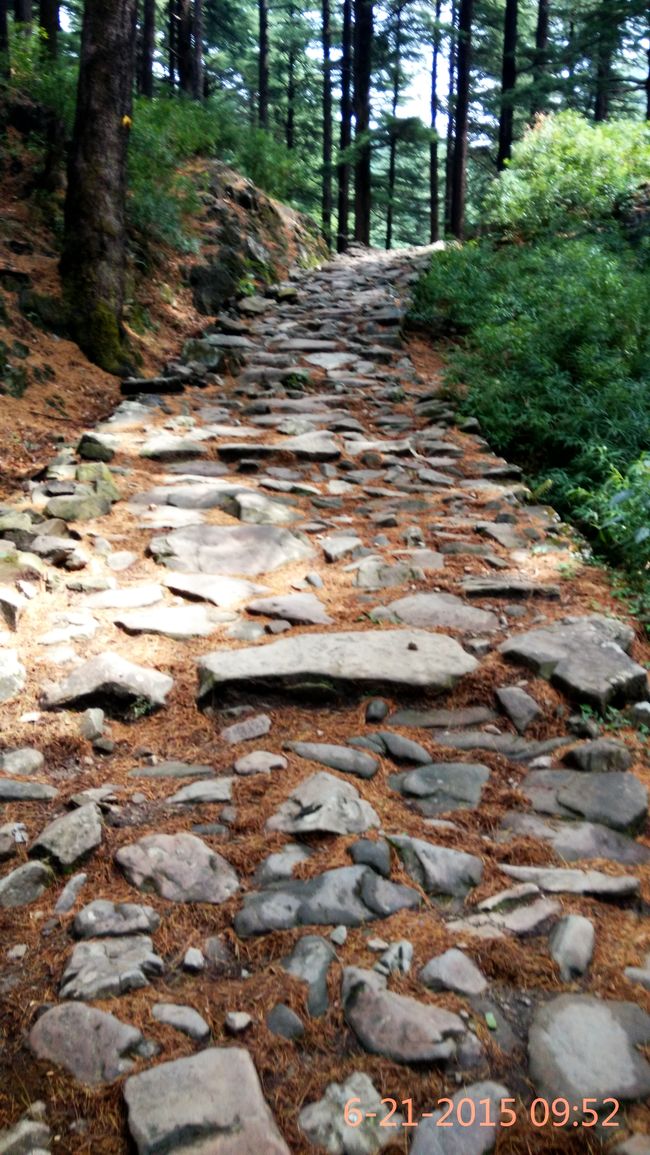
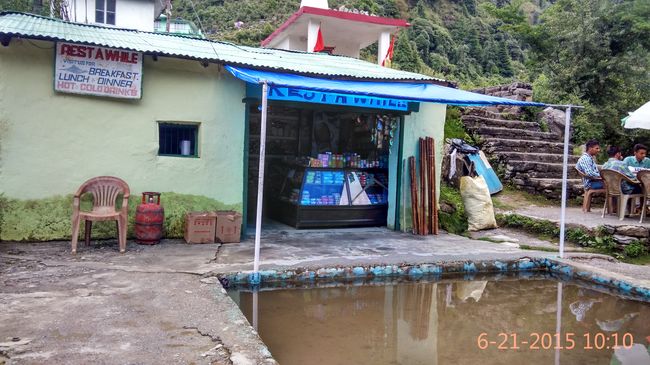
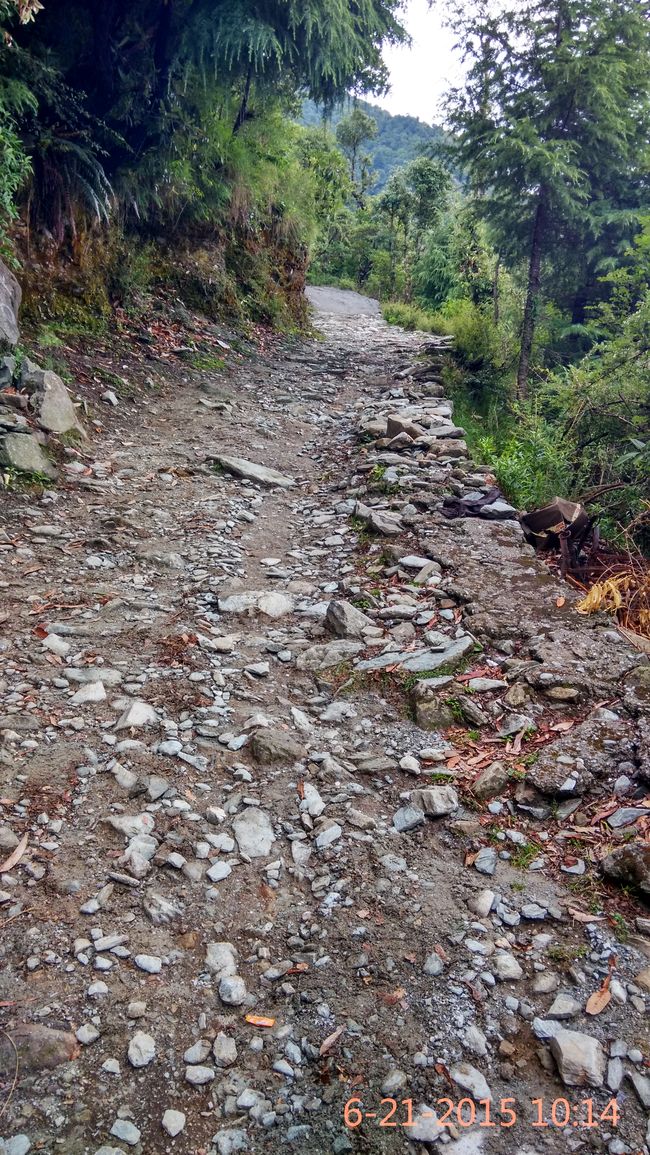
The start of the trail is pretty simple as you can see in the picture. It's just a plain road of stones and is like this only till the point it merges with the road and from there, it's 10 mins walk to the first checkpoint 'Gallu devi temple'. There is a cafe there named 'Rest A While' Cafe but at that point, I was not in a mood to rest. The road till this point is like walking in a dense forest but it suddenly opens up at this point and you can enjoy the first view of your trek.
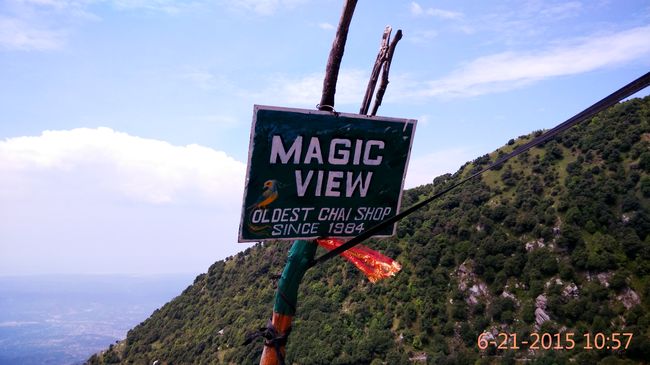
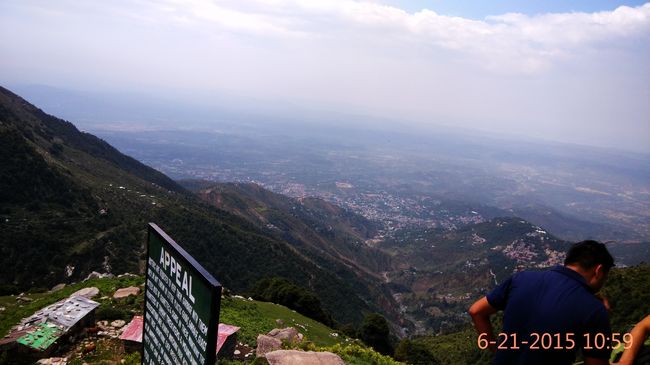
After this checkpoint, the elevation is not much except certain points in the trek. But from this point onwards, your eyes start feasting on the the beauty. The dhauladhars slowly start coming into the view, with the mcleodganj town at their foot. There were many fellow trekkers who were returning back after staying on the top last night. The next checkpoint are the two cafes, Magic View Cafe and Best View Cafe. As the name suggests, the view is majestic from here. These are located 2.5 kms from the Gallu devi temple. So now, I had 3kms left. I thought of stopping here for 5 minutes to just look at the splendid view. You can see the mcleodganj town at the foot of the valley. After reaching these points, you actually get a feel of the trek. And after witnessing the view from here, I wanted to reach the top as soon as possible.
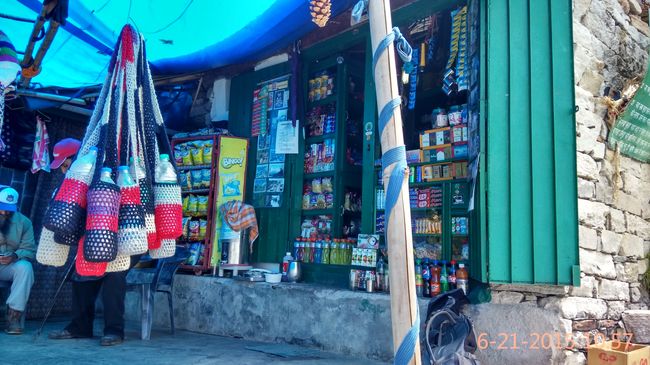
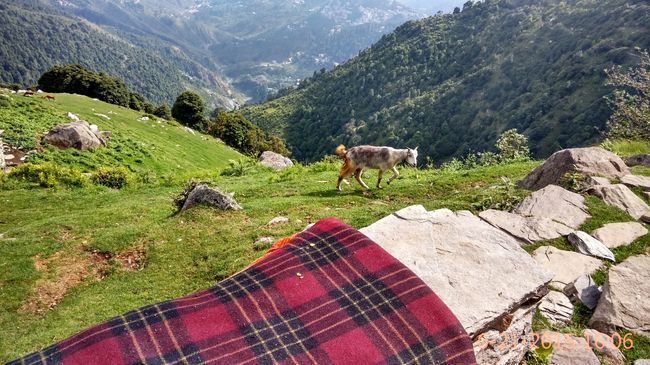
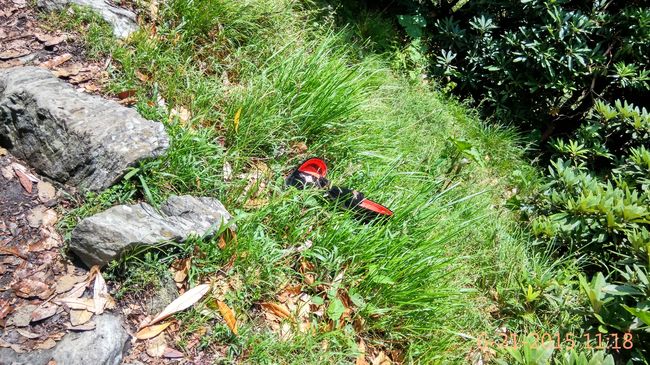
After this point, the trek starts to test your stamina. The elevation is still not much, but the number of points after which I wanted to catch my breath were increasing. Though, having a look at the view actually fills you with a lot of energy and I didn't stop anywhere in between till I reached the third checkpoint, another cafe whose name I don't remember. On my way up to here, I spotted 2-3 times a brand new pair of shoes that were discarded by the people while trekking as perhaps they did not serve the right purpose. I stopped here for 5 minutes to refill my water bottle and enjoy the view. After reaching upto this point, there's one thing that can't escape your eyes, the talented mountain goats. These goats are extremely skilled and can balance at any point here, no matter how steep it is. I was amazed to see some of them running through the edges of the trail. Though it was only 1km from here, I was told that the last part is very steep as compared to what I had covered till now. So, I set 30 minutes target to reach the top from here and started after a short while. After reaching so close to the destination, the tiredness automatically vanishes into the air and the only feeling that is left inside is excitement, and that excitement is what always makes me literally run at the end of each of my trek.
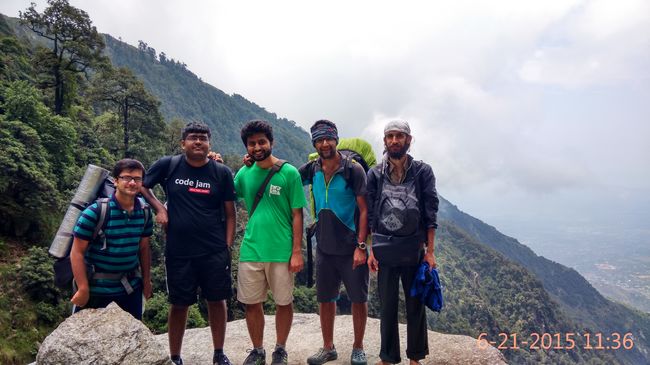
On the way to top, at the most unexpected place, I met with a group of my college mates who had stayed on top the previous night and were returning back. It was surely one of the best moments of my trek and a delight to meet all of them. I was moving forward, feeling excited that I had crossed the third checkpoint in time before I heard a voice and instantly recognized it. It was like, before departing from the college we had exchanged the words 'See you in the mountains'.
I was literally running after that filled with lots of energy. But the ascend was now quite steep and I had to catch my breath after every 5-7 minutes.
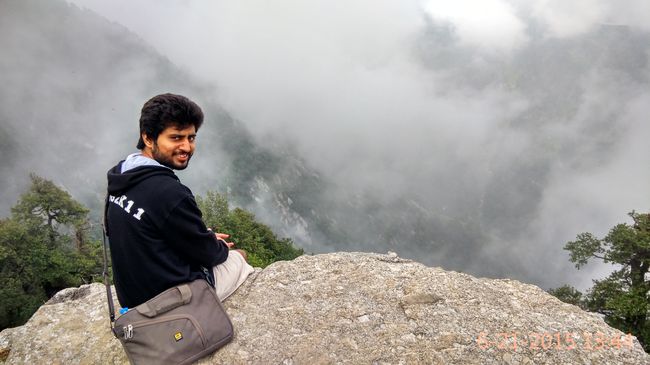
But, once you reach the top, every pain is gone. You'd just be mesmerized in the beauty that lies all around you. On one side, you can see the whole kangra valley and on the other, the mighty Dhauladhars. It all depends on the visibility actually. At one point, I was able to point out the cricket stadium in Dharamshala and at some other time, even the whole town was not visible. There is a point on the top that I believe offers the best view of the kangra valley. As soon you reach the top, start walking to your left towards the valley till you reach the farthest point. It's on the right side of the cafe that you'll come across in your way. You can sit there for hours, just looking at the enormous valley.
I have prepared a small guide below which, I think contains all faq's about the trek. Go through it in case of you have some doubt. You can also ping me for any other question you may have.
I'd strongly recommend this trek to everyone.
Guide :
Difficulty:
It's a perfect trek for beginners as it doesn't require much technique and just tests your stamina. You don't need a guide for the trek, there is a very clear trail of stones right upto the Triund Ridge, and if you are going at the time of peak season ( i.e. April - June), you'll see a lot of fellow trekkers.
Distance:
Triund is 9 km from Mcleodganj main square. But, you can go to Dharamkot (2 kms from Mcleodganj) using some vehicle and the trekking starts after that. If you have enough time, I’d recommend going on foot. It’s actually a plain road with a bit uphill. Taking an auto from Mcleodganj will cost you rs 70 to this point.
Checkpoints:
After Dharamkot, the first checkpoint is Gallu devi temple. It's a 1.5kms trek from Dharamkot, so after this, you have 5.5 kms left. There is a road also to this temple from dharamkot, but I'd suggest trekking upto here. The trek upto here is pretty simple. There’s also a cafe here named ‘Rest a while’ Cafe, but don’t rest here, you have only covered 1.5 kms till now :p .
The next checkpoint is - Magic View Cafe and Best view cafe. As the name suggests, the view is majestic from here. These are located 2.5 kms from the Gallu devi temple. So now, you have 3kms left. I'd recommend to stop here for 5 minutes, to just look at the splendid view of the dhauladhars. You can see the mcleodganj town at the foot of the valley.
The next checkpoint is another cafe. I don't remember the exact name, but you can find the photo in the review. This is 2 kms from the magic view cafe. After that, you have to cover just 1 km, but that 1km is the most difficult part, as it is steeper as compared to what you have covered till now.
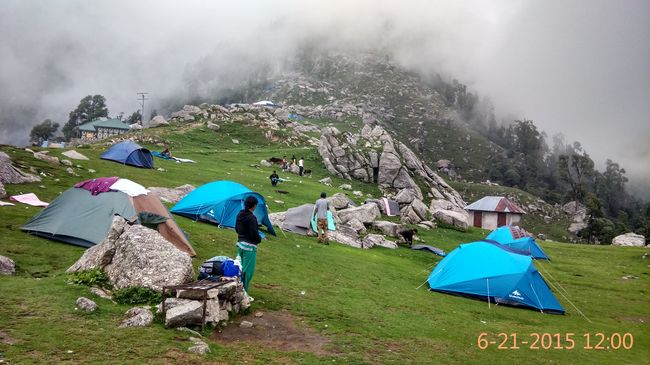
Just after starting from this point, you'll start to see the fog and the weather will change dramatically.
Time needed:
I completed the trek in 2 hours, but I didn't stop anywhere in between. My timings were:
first checkpoint after 20 mins, second checkpoint after 1 hour, third checkpoint after 1 hr 40 mins and finally 2 hours to the top.
If you are a regular trekker, you can easily complete it in 2 hours. And the first timers, it shouldn't take you more than 3 hours to complete the ascent.
Clothes:
Take some winter clothes with you even if you are going there in the month of May-June. The weather can change dramatically on the top.
Accommodation:
There is no need to carry tents with you to the top. There are 4 tea shops at the top, which offer tents also. The rates are : 500 for one person, 800 for two people, 1200 for three. There is also a government guest house there, but you need to book it in advance. The reservations can be made in Dharamshala.
Things to Carry:
Carry a water bottle with you, else it will cost you double at the top.
Also, carry a raincoat/poncho with you, you never know when it may rain.
Other things that you can carry are some chocolates, glucose etc, to give you some instant energy.
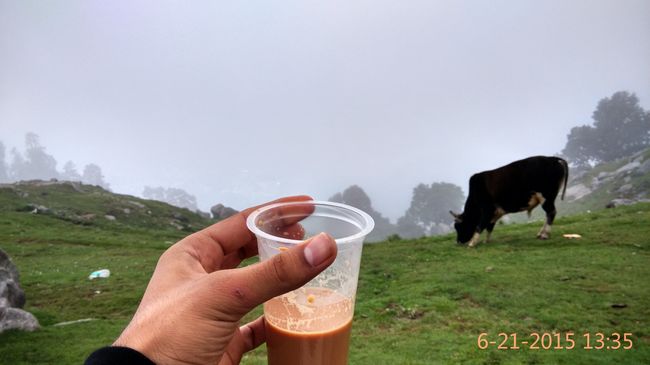
The rates of food are almost double. Maggi for rs 70/-, chai 30/-. So if don’t want to spend too much there, carry your own food. But, if budget allows you, have a maggi and chai there, though it’s not best in taste but at that point, it feels delicious :).
Start before 10 in the morning if you want to return on the same day. It's better not to stay there if the weather is not clear. But if it is, then it's definitely worth it. So, enquire about it a day before.
Really find informative blog. Thanks!!!Triund Trek
ReplyDelete